
Sample mounting strategies have been in the spotlight since the early days of light sheet microscopy. To harness the full potential of the technique and to properly place samples at the intersection of two or more beam paths, researchers need to leave the comfort zone of sample mounting for conventional microscopes.
In many light sheet microscopes, live samples are imaged in an aqueous environment. Therefore, water-like sample media is a common starting point of every mounting stratey. To hold the sample in place during imaging, one can increase the viscosity of the medium using agarose, methyl cellulose or similar, and/or confine the sample inside an enclosure made of clear, index-matched material.

FEP tubes and glass capillaries of different sizes.
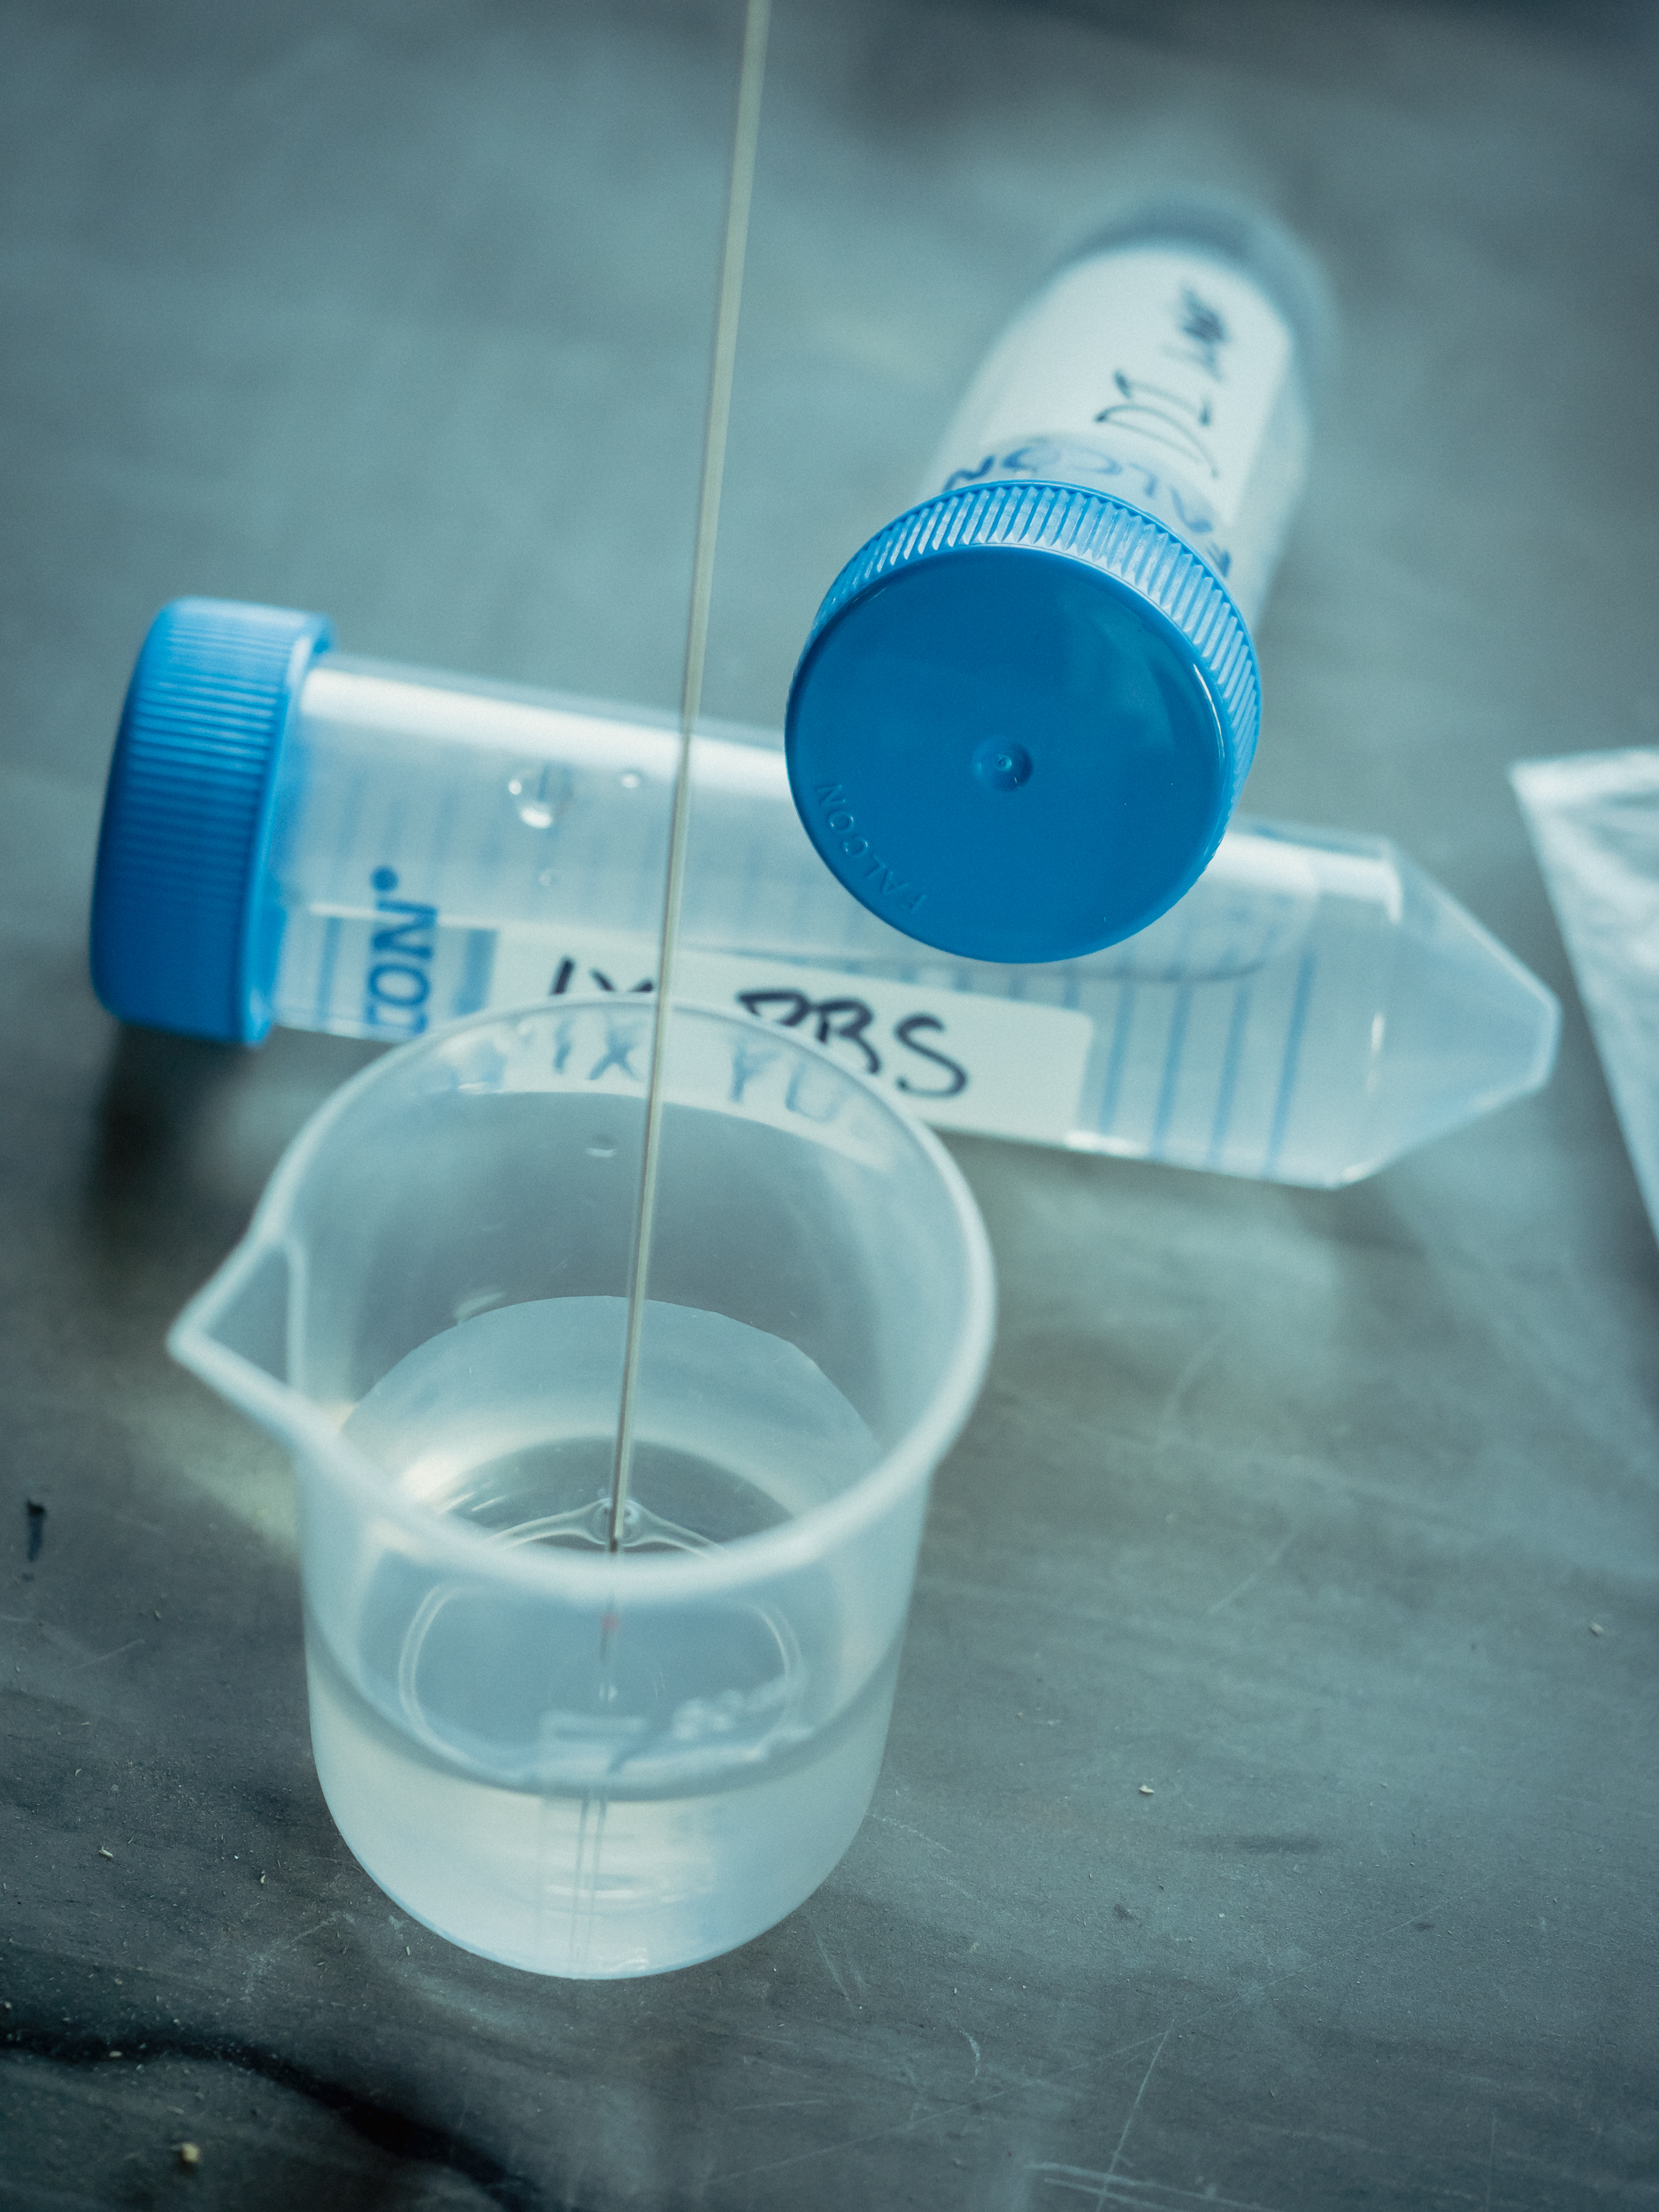
Mounting media


Sample mounting media and chemical compounds to increase viscosity and/or coat FEP.
- Appropriate medium to embed the specimen of choice
- E3 for zebrafish, potentially with Tricaine added
- Chemical compound to increase media viscosity and/or coat FEP
- Low gelling temperature agarose, e.g. Sigma Aldrich A9414
- Methyl cellulose
Glass capillaries

Embedded samples ready to be mounted in a Flamingo L/T/X-SPIM microscope. Top: combination of glass capillary, plunger and solidified agarose. Bottom: FEP tube (see below) with embedding medium and agarose plug.
Glass capillaries shape the agarose cylinder and should be considered disposables. Matching plungers are required to take up samples in liquid agarose into the glass capillaries and can typically be reused. Both are spare parts for the Brand Transferpettor pipette, and the Brand website lists details and order numbers for capillaries and plungers. Examples for matching combinations of capillaries and plungers are given here.
| Color code | Diameter | Example applications | Capillary | Plunger |
|---|---|---|---|---|
| white | 0.4/1.0mm | Worm embryos, spheroids | Sigma Z328464 | Brand 701928 |
| orange | 0.6/1.2mm | Fruit fly embryos, adult worms | Sigma Z328472 | Brand 701930 |
| black | 1.0/1.5mm | Zebrafish embryos/larvae (dechorionated) | Sigma Z328480 | Brand 701932 |
| green | 1.5/2.0mm | Zebrafish embryos in chorion | Sigma Z328502 | Brand 701934 |
| blue | 2.0/2.7mm | tbd | Sigma Z328510 | Brand 701936 |
Available capillary and plunger combinations for the Brand Transferpettor.
FEP
Fluorinated ethylene propylene (FEP) is a transparent polymer with a refractive index similar to water, which makes it a great material for imaging live samples. Several manufacturers sell standard and custom FEP tubing and film.
| Supplier | Tubing | Film | Custom | Locations | Tested? |
|---|---|---|---|---|---|
| BOLA | x | x | – | Germany | 0.8/1.6mm tubes used for zebrafish mounting; 25μm film tested for Drosophila imaging |
| Pro Liquid | x | – | x | Germany | 08./1.2mm tubes used for zebrafish mounting |
| BGB | x | – | – | United States, Germany, Switzerland, Turkey, France, Netherlands | |
| Adtech | x | x | x | United Kingdom | tubes currently being tested |
| Zeus | x | – | x | United States, Ireland, China | tubes used for mouse embryo mounting |
| Wolf-Technik | x | – | x | Germany | tubes recommended by Zeiss |
| Fluorotherm | x | – | – | United States | |
| Freelin-Wade | x | – | – | United States | |
| McMaster | x | x | – | United States | |
| FEP Film | – | x | – | Netherlands, Germany | |
| TCI | – | x | – | United States, Mexico, Germany |
Sources of FEP tubing and film.
FEP Film
Sheets made of FEP can be a great starting point for custom sample chambers, bags, tubes and covers.


FEP film rolled up (BOLA, left) and as pre-cut sheets (FEP Film, right).
FEP tubes


FEP tubing by BOLA and Adtech.
The right tube diameter is determined by the specimen. For zebrafish 0-5 dpf, we use either 0.8 x 1.6 mm (thick walls for increased rigidity, from BOLA or Pro Liquid) or 0.8 x 1.2 mm (thin walls for imaging, from Pro Liquid). Good tube sizes for bigger samples are 1.6 x 2.4 mm (from Pro Liquid) and 2 x 3 mm (from BGB).
A 1 ml plastic syringe with a luer slip tip (Sigma Z683531 or CareTouch CTSLL1 ) and an attached injection needle is a convenient tool to take up samples into an FEP tube. Syringe needles come in different sizes with the outer diameter expressed in Gauge. This needs to match the tube’s inner diameter. Alternatively, especially for wider tubes, use a standard pipette and a matching plastic tip.
| Diameter | Wall thickness | Example application | Source | Needle |
|---|---|---|---|---|
| 0.8 / 1.2 mm | 200 µm | Zebrafish embryos/larvae (dechorionated) | Pro Liquid | BD #305165 Gauge 21 AIR-TITE #89500-304 Gauge 21 Sigma Z192481 Gauge 21 |
| 0.8 / 1.6 mm | 400 µm | Zebrafish embryos/larvae (dechorionated) | BOLA, Pro Liquid | BD #305165 Gauge 21 AIR-TITE #89500-304 Gauge 21 Sigma Z192511 Gauge 20 |
| 1.6 / 2.4 mm | 400 µm | tbd | Pro Liquid | Grainger Gauge 16 BD #305197 Gauge 16 |
| 2 / 3 mm | 500 µm | tbd | BGB | Grainger Gauge 14 |
Examples of specific FEP tube diameters and matching applications.
FEP tube straightening (optional)
FEP tubes typically arrive rolled-up, resulting in a more or less pronounced bend. This will result in severe sample displacements when rotating the tube in L/T/X configurations. Straightening tubes might help to mount the sample and align the image data. However, the tubes have to be straightened and cut to length before cleaning, making the process of cleaning much more elaborate and time-consuming.
The idea is to straighten the tube by heating it to 180 °C and slowly cooling it down. The process happens either in stainless steel tubing or in glass tubing. Both have to have the right inner diameter to fit FEP tubes in. We now use two steel tubings of the length of around 50 cm. Inner diameter is either 2.4 or 1.6mm.
- Start procedure the afternoon before intended FEP tube cleaning
- Cut FEP tubes slightly longer than steel tubing
- If possible, fill smaller FEP tube in larger FEP tubes (example: put 1.2 x 0.8 FEP tube in 2.4 x 1.2 FEP tube, and both together in steel tube)
- Place FEP tubes in steel tubing, with a little end of FEP tube sticking out
- Heat these tubes to 180 °C for 2 hours, e.g. in large autoclaves from cleaning service
- After 2 hours, take out tubes and let cool down at room temperature for at least 5 hours
FEP tube cleaning
FEP tube are typically dusty/dirty upon arrival and require cleaning. Cleaning long pieces of tube before cutting them to length will make that process easier. To avoid contamination, use gloves and/or forceps to handle clean tubes.


FEP tubing rolled up (BOLA, left) and in the process of being cleaned (right).
Flush FEP tubes twice with 1 M NaOH (Merck) using syringe, 0.45 μm PVDF filter (see below) and matching syringe needle. Place the flushed tubes in Falcon tubes with 0.5 M NaOH and ultrasonicate them for 10 minutes. Transfer the tubes into a small basin and flush them with double-distilled H2O and with 70% ethanol. Place the tubes in fresh Falcon tubes with 70% ethanol and ultrasonicate for 10 minutes. Finally, flush the tubes with double-distilled water, cut them to length and store them in Falcon tubes with double-distilled water.
All solutions should be degassed and filtered using a syringe filter (Millex-HV PVDF 0.45 μm, #SLHV033RS) before use.
Fluorescent beads (optional)

Maximum intensity projection of fluorescent beads mounted in an FEP tube and imaged on a Flamingo with light sheet illumination from the right.
Fluorescent beads (or microspheres) are great samples for evaluating microscope and light sheet alignment, and they can also serve as fiducial markers for multi-view registration. Multi-color beads are labeled with four fluorescent dyes and visible in all channels. They are handy as universal test samples and to measure chromatic aberration. Single-color beads are only visible in some channels and a great add-on for multi-view, especially when placing them in an otherwise unoccupied channel. They also tend to be brighter when compared to multi-color beads, which can be an advantage during light sheet alignment. Beads come in different sizes. We found 0.5 µm diameter to be a good choice for a magnification of 10x-20x.
- Tetraspeck fluorescent beads, multi-color, 0.5 µm: Thermo Fisher T7281
- Estapor fluorescent beads, single-color, 0.5 µm
- EX 440, 458, 468 / EM 480, 510: Sigma 39555001
- EX 470, 490 / EM 525, 560: Sigma 80380016
- EX 515, 555 / EM 568, 610: Sigma 80380495
- EX 420, 515, 550 / EM 656, 720: Sigma 80380496
Mounting for L/T/X-SPIM configurations

A zebrafish embryo is shown here as an example for a living and growing sample. (A) For short experiments, the sample is embedded in a solid agarose cylinder inside a capillary. For imaging, the cylinder is extruded into the medium-filled sample chamber. (B) Alternatively, FEP tubes can be used to enclose the agarose cylinder and increase the overall stability of the sample mounting. (C) For time-lapse experiments, the sample is mounted in FEP tubes filled with liquid or viscous medium.
Mounting in free-hanging agarose cylinder

Mounting a sample in a free-hanging agarose cylinder. A glass capillary is used to take up the sample in melted agarose and to shape the cylinder, as well as to hold the mounted sample in place inside the microscope. Once solidified, the agarose with the sample is pushed out of the capillary to be imaged in an aqueous environment.
- Melt 1.5% agar at 70ºC and keep it at 37ºC.
- Put the plunger in the glass capillary such that the white end barely comes out of the capillary.
- Put the sample in agar, with as little water as possible.
- Take up about 3cm (1”) of agar in the capillary by pulling the plunger.
- Take up the sample and keep it close to the end of the tube.
- Let agar set 1-2 minutes and transfer into a falcon tube or a small beaker with sample medium. Be careful not to move the plunger or the sample might be released.
- Once you are at the microscope and ready to image, push the plunger down such that the sample is just outside the capillary.
Mounting in FEP tube


Sample mounting in an FEP tube.
- Prepare a petri dish coated with a thin layer (1-2mm) of 1.5-5% agar.
- Melt 0.1% agar, keep it at 37ºC.
- Treat samples with tricaine.
- Cut the clean and straightened FEP tube to the desired length with a razor blade.
- Mount the FEP tube on the blunt end needle.
- Place the sample in agar with as little extra medium as possible.
- Fill the FEP tube with agar first, then take up the fish, head down. Keep the fish close to the end of the tube.
- Carefully stick the FEP tube into the agar coated dish at a 90º angle. Avoid bubbles between plug and agar. Rotate the tube and take it out.
- Check by eye or stereoscope that there is an agar plug at the end of your FEP tube. If there is no plug, repeat the previous step.
- Cut the FEP tube at the edge of the blunt end needle.
- Transfer FEP tube into an Eppendorf tube with tricaine E3 until ready to image.
You can also take up the fish in 1.2-1.5% agar and not use the plug. The FEP tube will provide additional stability. However, keeping the developing fish in solid agar will impair its development. We recommend using 0.1% agar and a plug for imaging for more than one hour.
Literature
- Kaufmann, Mickoleit, Weber & Huisken, Development 2012: Multilayer mounting enables long-term imaging of zebrafish development in a light sheet microscope
- Weber, Mickoleit & Huisken, Jove 2013: Multilayer Mounting for Long-term Light Sheet Microscopy of Zebrafish
- Weber, Mickoleit & Huisken, Methods in Cell Biology 2014: Light sheet microscopy
Acknowledgment
Alyssa Graves and Anjalie Schlaeppi contributed to this page.